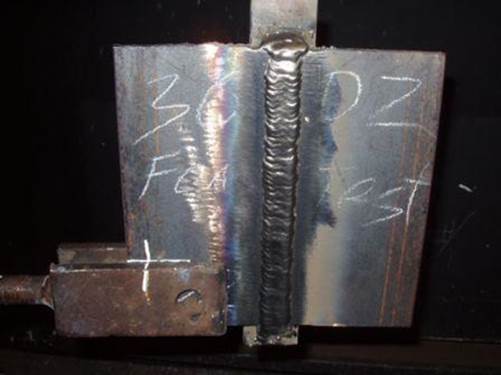
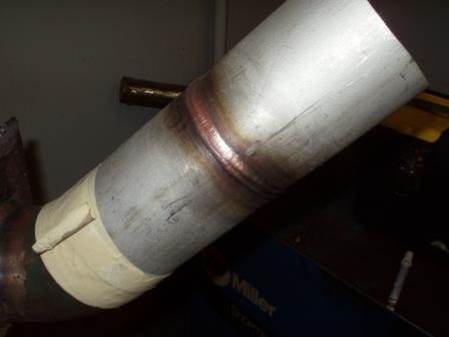
What is Weld Destructive Testing?
Weld destructive testing is performed for several purposes e.g. to qualify a welding procedure specification, to qualify a welder or welding operator or to conduct a production testing.
How to qualify a Welding Procedure Specification (WPS)

The welding procedure is written based on the experience and welding knowledge, but some mechanical testing shall be performed to qualify it.
For example, you write a WPS for stainless steel material such as ASTM A240 TP 316L; you determine P number, A number, thickness range, filler metal type and diameter, joint configuration, welding machine voltage and amperage, etc.
Your WPS is ready; you need a welder to weld a test coupon for you. The test specimen is welded, cut it up and sent to the mechanical testing laboratory. Two tension tests, two root bend tests, and two face bend tests are performed.
If the result of tests were satisfactory and met the acceptance criteria, then your WPS is qualified. So if your job is the pressure vessel, piping, and storage tank, then these tests are performed based on ASME Section IX.
If the job is about steel structure, then your weld destructive testing shall be done based on AWS D1.1 and if the job is in the pipeline, your destructive testing for WPS shall be performed based on requirements of API 1104.
How to qualify a Welder or Welding Operator

The welders and welding operator normally qualified with radiographic testing or ultrasonic testing but some employer prefer to do mechanical testing (destructive testing). To qualify a welder, you need to cut the test coupon and perform one root bend and one face bend test (based on ASME IX).
Please note in some welding process we are not allowed to perform RT or UT test to qualify a welder or welding operator, and we have to use weld destructive testing. For example, you can not qualify a welder by RT or UT for GMAW-S and FCAW welding process.
Any welding code or standard has own requirements for mechanical testing for welder performance qualification e.g. ASME IX, API 1104, AWS D1.1, etc.
Weld Destructive Testing for Production Test
Sometimes we perform destructive testing based on project requirements. For example, there is process piping project, and you have 2000 thousand piping joints for welding.
The project specification requires one joint to be selected in each 100 joints for mechanical testing. This is a destructive testing, and you will lose that welded joint but this a way to make sure the welded joints has adequate ductility and other desired mechanical properties.
This method is not very common, but some customer consider this requirement on their project specification.
Acceptance Criteria for Destructive Testing
The acceptance criteria is indicated in each related code or standard. For example ASME IX requires that the weld tensile strength should not be less than minimum specified tensile strength of material.
If the test coupon broke at the base metal and out of the weld portion, then it would be acceptable if tensile strength was more than 95% of minimum specified tensile strength.
In the same standard, after bend test, no crack should be more than 1/8 inch in the stressed surface.
When you received the laboratory test report, you should refer to addressed standard to identify acceptability of the test. You need to compare the measured values in the test report with the acceptance range in the standard.
Free newsletter!
Sign up to receive my monthly newsletter covering all the latest courses and updates.


New! Comments
Have your say about what you just read! Leave me a comment in the box below.